Showing posts with label ceramic. Show all posts

Tuesday, June 4, 2013

Short Stack

Friend has been prodding me to make a short, smaller version of my stacks for some time because they might be more appealing size and price-wise. Finally had some time and inclination.

Found a little broken red lamp base at the Rebuilding Store that seemed like a perfect start, but the color red can be tricky. (See tiles below for these glazes post firing.)

Left a bit of surform texture on each of them for a second contrast color to sink into after I bisque them. 

Trouble with this is that the little small pieces take almost as much time as a large stack piece, just a lot less finish carving and glaze to paint them.


Greenware pieces, Cone 5 fired tiles.


Thursday, December 29, 2011

Development of a Form

Progression of small Pitchers
Customer reminded me that I used to do small creamers and asked if I still make them? Of course that pattern is long gone so an opportunity to work out a slightly new shape.

I cut a paper pattern and used it to cut out the first pitcher and put it together. A little too petite. 

Made second pattern slightly wider with a broader base for the next couple of pitchers, and then finally used the second pattern and cut about 1/2" wider still on the sides to get the final pieces. The spiral stamp decoration will be the only handle, which will save a lot of fussy construction time.

When I get more clay dried to the right consistency for slabs I'll try an even wider version to see just how far to take it. Plus, after shrinkage these may be smaller than I want them to be in the end. With my paper pattern all I have to do is just make them a little taller as well as wider for the next tweak.
Using a paper pattern can help you tweak forms as you develop them.
Differences in the top from first to final shape

Wider profile fits better in the hand and leaves room for decoration


Monday, December 12, 2011

So much Greenware, so little time...

I've done it again... clogged my tiny studio with too much greenware I'm having to hop around and keep the dogs from running over. All are pieces I'm not sure how it to glaze/decorate now, and so they sit taking up valuable room and foam padding.

After so many years suggesting to students that one should have a vision of the completed piece in mind as one constructs, I rarely follow my own advice, instead just making shapes and hoping they'll turn out.

These pieces are the start of a couple stacking sculpture. I go back and forth wanting to glaze them differently than the bright colors, stripes and dots I've done before, and then worry that if I put too much thought into it I'll wreck the whole thing for sure. Too much time invested already for that.

If I can find the space, I may start Stacker #2 as some of these pieces may fit better into the next piece than this one. Maybe, just maybe that will help me decide how to bring Stacker #1 to a close.

Thursday, August 25, 2011

Expanding an Idea


Behold... something new from the studio. (Ha! doesn't it feel that monumental some days!)

These are first editions for The Arts Center's Portals show later on this year.

Last month attended the mini-workshop hosted by Gale Everett-Stahlke of the StickStones PaperStew Blog. She showed how to create wire sculptures with either layered paper or gut skins. It was a process that I thought could be a nice variation on the "inside/outside" theme I've toyed with over the years on the sculptures with 23k gold leaf (see example below).

Anyhoo, these two porcelain beauties have had some holes made in them for wiring up after they've been fired. Both were pinch pots that just grew organically as I pinched. On the first one I tried to smooth out my finger marks and on the second one I accentuated them. I'm going to low-fire cook them so that the clay will accept some cold wax/oil paint treatment after they've been fired.
Will be interesting to see where this goes from here.

Thursday, February 10, 2011

What Inspires Us?


Oooh, to make beautiful sculpture as nice as this weathered log. Saw some beauties on the Big Island this year. This one was at a sweet little beach at Waialea Bay. Gentle waves the day we were there but the trade winds were blowing just enough to drive us off the beach a little earlier than we'd planned. We're wimps.

Undulations and smoothness, little surprises in places, and one big dramatic flourish.

What more could one want in a sculpture?


Now, how to translate into something I can actually make in my studio...


Sunday, October 31, 2010

Finally, the Spring Order Complete!

Finally got two butter dishes completed -- and it only took me 5 months!

Sometimes special orders have a way of going wrong, very, very wrong... My first dishes were too small as I didn't figure the clay shrinkage correctly and were too small to fit over a cube of butter. The second attempts came out horribly in the glaze firing. Then the festival (my other job) began to loom and time in the studio dribbled to a few pieces a week. Finally got enough pots completed for a kiln load and got these out yesterday.

The smaller one is sleeker and easier to lift off the dish. The other one has a nice hefty feel. I'll have to remember to make the indentions deeper on future models so there is a good solid place to grip the top.

$40-$45.

Friday, April 23, 2010

Crumbly Lemonade


I thought this piece was dry enough and that my firing cycle long enough to dry it thoroughly through and through... but in the very first rise of the kiln up to 200 degrees, when water begins to boil, there were some pockets of wet deep within, and that little bit of steam caused all this mess.

The bad news was that about $20+ worth of underglazes were layered onto this sucker and it wasted a bunch of energy blowing it up and then turning it into gravel.

The good news, if there is any, is that this was a piece that I wasn't so sure about. I'm saved several hours of sanding and mess and another firing. And there's one less big, heavy piece to haul up to the show--tho I'm SURE it would've sold if I'd had it there. It was still an interesting piece to work on and learn from during the forming process.

The longer I'm a potter the more I learn what silly mistakes I can make.


Tuesday, April 6, 2010

Variations in a Single Firing


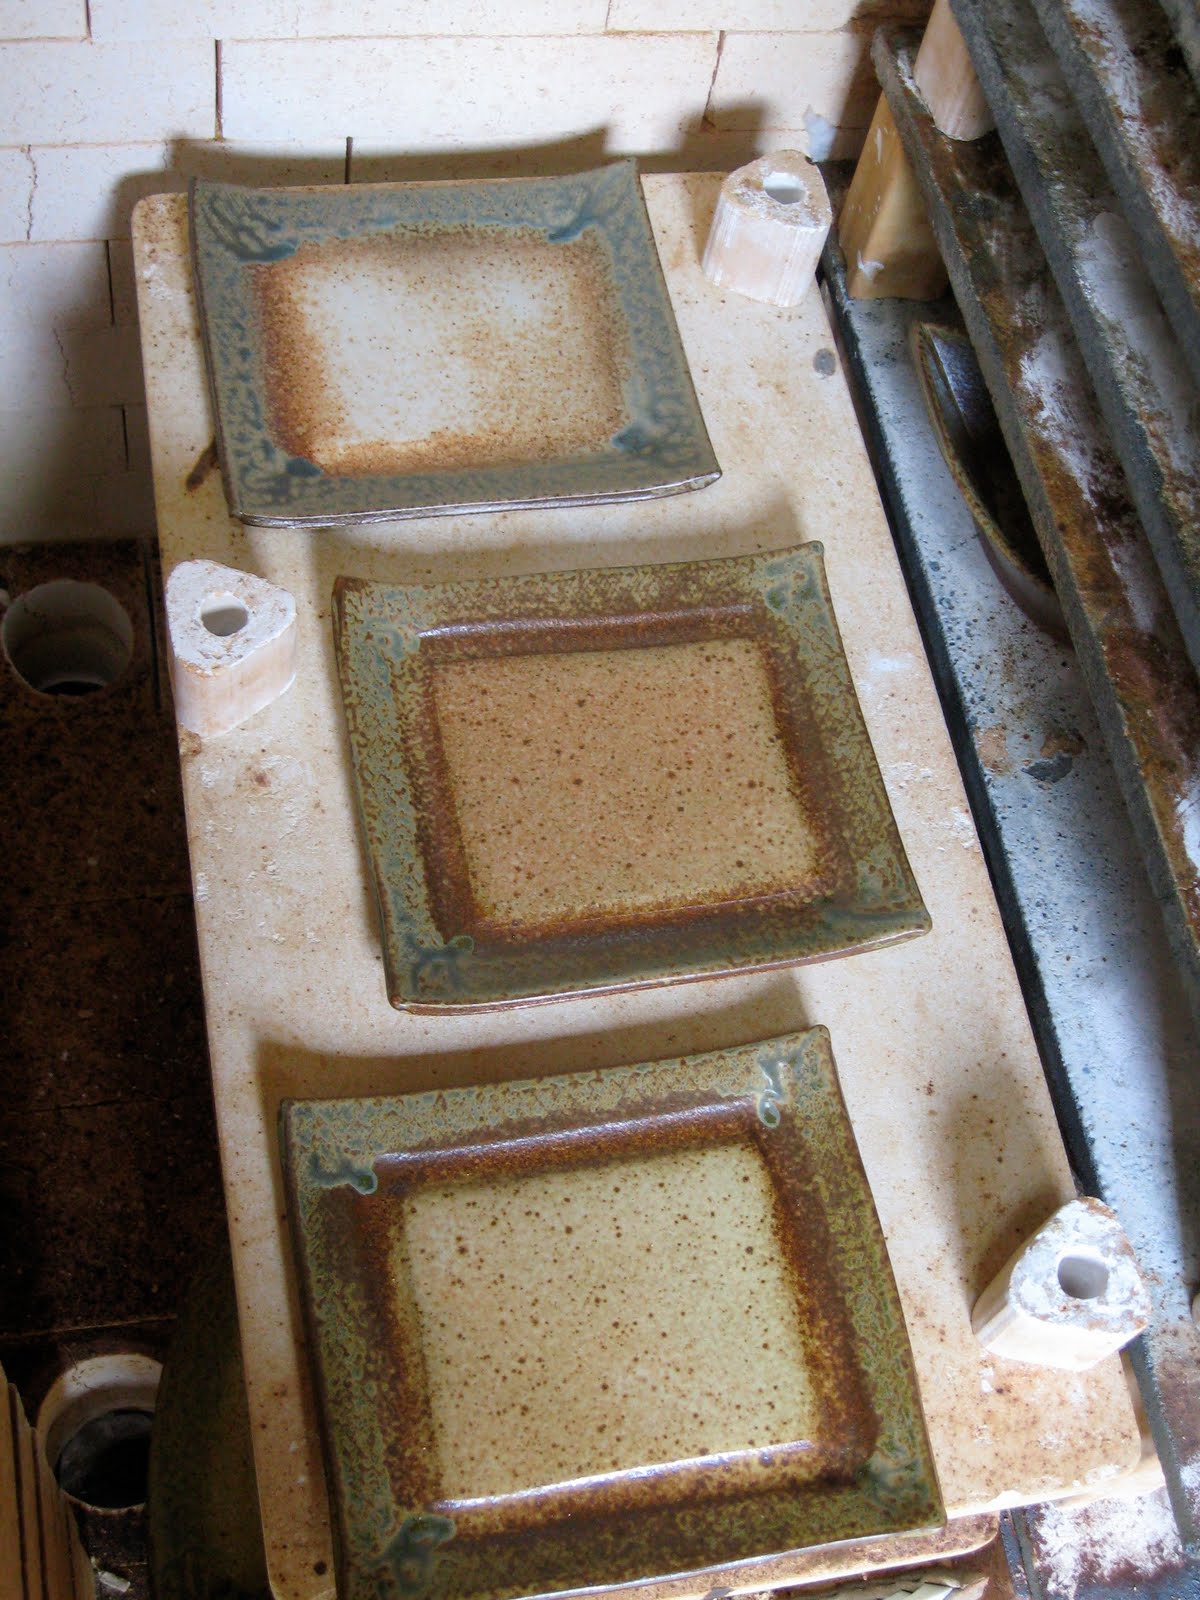
This past month I've been working on a set of dinnerware: eight big plates, small plates, smaller plates and bowls. I'm never done so many pieces that were all supposed to match. Luckily the folks buying this set knew that from top to bottom they would get some differences in the glaze and the way the clay looked. That is sure what they're going to get.

The above images illustrate just how broad these variations can be. The three plates on the shelf go from regular reduced atmosphere in the front to very oxidized in the back. The bowls also show how each one dried and warped a bit differently as well as getting different finishes from the firing. Never a dull moment when it comes to pottery...

Below is a complete dinner set that matches pretty well considering.


Monday, March 22, 2010

Dinnerware Commission


Fired most of the dinnerware set over the weekend. All the plates and a couple of larger serving pieces got in, but the bowls just didn't make it.

Haven't fired that many plates all at one time and tighter stack and extra shelves changed the way my kiln fired a bit... Everything came out a bit darker due to be reduced* during the firing, but I think the darker color will look nice with food. Waiting to hear from the family who ordered them before I begin the boxing/shipping process.

*when the kiln is starved of oxygen the fire seeks it from the chemicals within the claybody, giving stonewares a darker/richer hue.

Wednesday, March 17, 2010

Leaf Bowls-Phase Three


The first set of leaf bowls turned out nice. The second set warped as they dried and then rocked after they were glaze fired and were generally a pretty motley bunch. With this third set I've made the dart cuts even deeper and the impressed foot smaller to try and make them more of a bowl than a deep plate. Turned them upside down on a flat surface and paddled the foot in hopes that gives them a good non-wacky start to drying.

Monday, March 8, 2010

What inspires us?

This kiln shelf has all the color, drama and element of surprise that I would cherish on any pot of mine should it turn out looking like this. And it just happened that way in the firing through nothing we did, and we will grind off all of this beautiful decoration for the next firing. The marks are left from wads that keep our pottery from sticking to the shelf and from flame and ash that swirled all around.

Beautiful shelf. Hope the pots I'm making for spring woodfire turn out half as good.