Showing posts with label clay. Show all posts

Wednesday, September 11, 2013

More wire and clay?

I thought that my series of making vessels for wiring up had run its course. Then these forms came to mind, so have to see where they will lead.

I see these as fairly figurative form with a ghost-like silhouette. Two influences I must be following:  earlier work by Christine Bourdette and the subtle forms of Amanda Salov, from whom I acquired a swell little dish last spring sporting this same shape.

The white pieces are porcelain. The dark brown stoneware shapes were layered with grolleg slip, with some edges left showing their brown bodies.

I can see a variety of ways to "lace" these up with wire... can't wait to get them bisqued so I can begin.

Saturday, August 10, 2013

Stack Workshop

Finished Works!


Experimental re-glazed piece and lil' monster peeking out from behind. 


Stack pieces made the day before, dried out overnight in kiln
Stack Toppers
The first Stack Starter Workshop held yesterday and today.

With the help of the sun, we cut out, dried out, pieced together and finished 3 simple shapes and a "topper" for a mini-stack. When the day started out drizzly--in AUGUST!--this workshop host was a little worried, but the sun came out just in time and dried things out pretty quickly.
Glazing Party: Annclaire, Alexis, Joni


Spent the morning flipping them and making sure edges were covered up so they didn't dry out too much. After lunch everything was dry enough to put together and finish up using ribs and surforms.

Everything spent about 17 hours at 175 degrees in the kiln over night and only a few cracks had to be filled in with paper clay this morning. 

Glazing party with Velvet and Duncan underglazes and everything back into the kiln to once fire up to Cone 6.


Annclaire, Alexis and M'liss


Tuesday, July 30, 2013

Some Results

Shown are three finished boat bowls with feet made as a special order for an Etsy customer who wanted something to fit a display shelf. These are all a bit shorter than the 22 inches long she wanted, but I hope they pass muster.

Was a little worried that I was oxidizing the helmer shino at the end of my firing to get the kiln to climb, but these were in the right spots in the kiln and still got the nice burnt orange color I love, and that she requested.

UPDATE: She purchased the second one.
Shipping costs were more than I'd expected. Glad this ended up being 20" so I could double box a 16" into a 20" box. A 24" box costs more than double a 20"-er. Difference of $20-$56!!


The layered glaze workshop had a slight set-back when I managed to blow up the pod pieces I'd created for them to work on. The class still had big enough chunks to sand through their layers and get some results. Shown are a nice variety of textures and variations of sanding techniques from the group.

NOTE: if you stop your programmable kiln in the middle of a cycle, make sure that the temp is BELOW the range you want it to return to, or it will climb to the next stage. The pre-heat went from being a long one to one that was way too short... at least you can see the results of both sides of each pod all in one photo.

Friday, July 19, 2013

First Mini-Workshop

These simple looking pieces belie the many layers of colors layered on them that will soon be revealed. Participants in my first mini-workshop came and glazed last night, inbetween talk about hot-flashes, the mean-street playgrounds on which we played as kids, and things learned in other clay classes.

Next week they'll return to these pieces after they've been bisqued to a lower temp than normal, to sand through to see what they get. Fun for me to see what color combos they chose opposed to the same old tried and true that I seem to do.

This spring I did a major garage and studio clean up with hopes I'd have room to host mini-sessions in my studio. It is an intimate space but seems to work... Next month I'm hosting two stack-making workshops. One is already full, but the second one has two slots open. FMI:  Clay Play with Cynthia
Wednesday, October 10, 2012

Unusual Commissions

Beehive in the Greek Style
Sometimes a request for a piece comes in that is too good to pass up. My neighbor happens to be honeybee man and Professor Emeritus Michael Burgett in OSUs Entomology Dept. His "Far Side Entomology" was deemed the Best College Class in the Nation by Playboy in 2010....but I digress.

Prof Burgett has created a Bee Hive "Museum" at OSU's Bee Lab and wants a replica of a greek beehive like they have used in Greece for the past few centuries. Beekeepers arrange sticks across the top and the bees do the rest. There will be a small opening cut into the bottom for the bees once the clay sets up enough.

Key to my taking on this project was Michael's  promise the beehive didn't have to be perfectly uniform. Hives in the images he showed me were probably all coil built as was this one, but by skilled craftspeople who had made quite a few of them. They looked thrown. This one leans a bit and has a slightly wonky top. After taking this photo I noticed one handle was larger than the other...fixed. The lettering will be carved out to say honeybee in Greek.

Hoping this will be 15 x 15 inches after firing.

Looking forward to adding "In the Collection of OSU Entomology Dept's Honeybee Museum" to my Vita.


Wednesday, August 1, 2012

What Inspires Us

The last time I was at Goodwill looking for inspiration I found  this tall multiple metal legged candle stand, complete with leftover white wired lace woven all around that can be used again. Since I'm in a phase of making sculptures to which I can add a weave of wire and paper, these looked promising as a different take on the whole business:  in this case sculpture added to the "wire."

Drilled through the center so that the sculpture could be attached to the stand via bolt and wing-nut. In the photo below the small bowl on the left will be the attachment point and the middle twist a "cap" that will fit over the top of it. The ball and piece on the right will be counterbalance weights at the base of the stand to keep it all from being too top heavy.

Haven't decided whether or not to add some more wire and paper to the wire itself. Guess I'll wait to see how the clay looks glazed, fired and attached.

Saturday, May 19, 2012

Gimme one more hour!

Spent today making pots in front of an audience of fellow potters at the Benton Center Pottery Studio at Linn-Benton Community College for the Spring Workshop. Took requests and someone wanted to see one of the more complex twists I do. Of course. 

Many have been made, but not many have been successful, but what the heck. It was a chance to let them see just how rough and crazy it all happens in real life. Decided to make a mini-version and cut out all the pieces to make two-thirds of the shape.

On my side: dry air, a couple extra hands, a concave form and a warm bisque kiln helped get the beginning shapes dried out enough to put together.

Against me: Time. It ran out before I could get the base part dry enough to add the final touches. Came home and used all the scraps that were still wet enough to piece together the top curved piece in gradual sections, and then goo glue it all together and gave it shape with some very soft clay. 

Tomorrow after this is dry enough to work on I'll attack it with my stainless rib with the teeth to give it more defined shape and then see if it's thick enough to carve.


Friday, May 11, 2012

Is It Done Yet?

"Seaform Figure" at Ceramic Showcase 2012
Theme shows can push us to explore in fun new ways. In the two weeks leading up to my deadline, the big piece in the middle of this photo was still in a state of Yuck! It was part of our Bette Feves Tribute installation at Ceramic Showcase last weekend at the Oregon Convention Center.

The base was a sculpture from 2010 (as it states so permanently next to my signature) but I'd never liked the top so it has been clogging my tiny studio since then waiting for me to do something with it. So I started my Betty tribute at a bit of a disadvantage as remaking tops to fit bottoms is always tricky. I erred on the side of too big instead of too small.

After firing the top, using the same clay body and layered velvet underglazes on it as I had the bottom, the results were very different and mis-matched looking. So heated up the entire sculpture, added Apt 2 to some white glaze to have a clean surface to start anew and cooked it. Still not so great. Another coat of white to cover it all up a bit more. Finally just a hint of its previous life showing through. While still warm from the kiln dripped and poured some glazes, ala Betty, and back in the kiln to cook. It took a few hot from the kiln glaze painting, dripping and pouring sessions (8 in all) to get this pebbly, drippy look. At the show, with these other pieces the blue worked just fine. Love how the drips accentuate the curves. But now back at home there might be a 9th firing in her future...

Saturday, March 17, 2012

New Series Baby Steps

Ceramic Boat with wire and paper skin
Amazing what a deadline can do. Last week the bi-monthly critique group was scheduled to meet at my house and I needed something to share with the group. Since last year I've been working on these ceramic forms that have holes around the edge so they can be wired up later. I've got several kicking around the studio now in various stage of greenware and bisque. Trouble was I didn't know how to finish the inside surface and so couldn't do the wiring until the inside was finished, blah, blah, blah. Stymied. Finally told myself that if I didn't like it I could just take it apart and try something else. D'oh.
Ended up making some simple pencil accent marks and adding a little gold leaf to the small center section that can be seen through the reveal space in the center. Turned out I liked how the simple inside and outter skin turned out. Received good feedback from the critiquers that simple worked. Suggestions were to beef up the center contrast a little and leave it as a boat instead of working to make it a hanging piece as I'd originally intended. Will do.

A small reveal in the skin allows for peeks into the inside

Tuesday, January 24, 2012

Awwwwww....!!!

Srap-pile Heart for WCG Extremes! Show
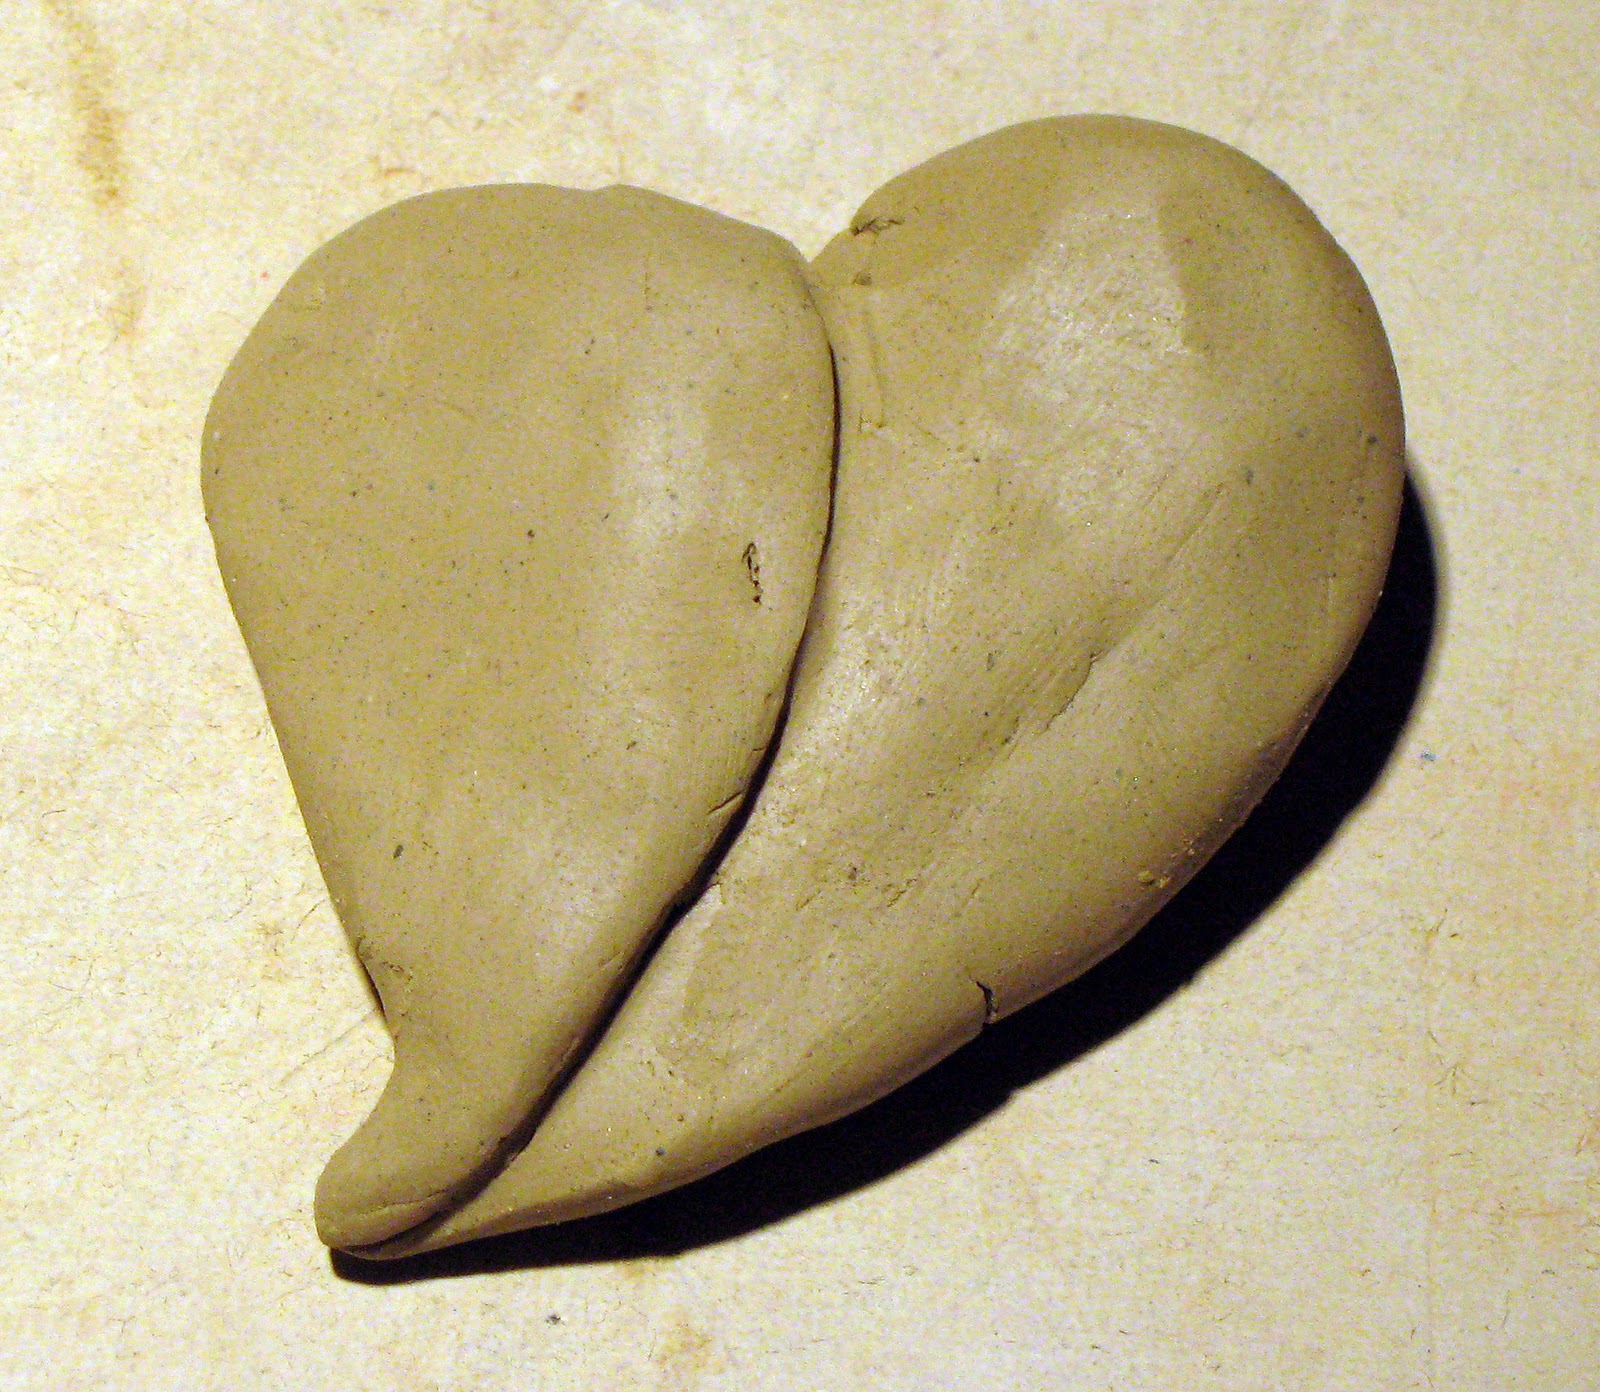
These little Scrap-pile hearts, made from end of the day clay, have taken on a life of their own. I began making them for my local ceramics guild's "Extremes" show encouraging us to make work totally different than our normal fare. I think I succeeded.

After affixing this one onto a nice, inexpensive frame to finish it, it still didn't feel finished. It needed a title or something. The space looked about fortune cookie paper size. Looked through many saved fortunes with sentiments of "This week a financial breakthrough will come to you," and "Accept the next proposition you hear," and decided to write my own.

"Love comes in all shapes and sizes" fits with the idea that these hearts were made from what used to be scraps of clay.

On a technical note, the heart was wired into the frame rather than glued, since pottery and glue have a way of parting. Some of the other hearts were made to epoxy headless screws into them so they can be easy accents on the wall.


Wednesday, December 28, 2011

Is it a Series Yet?

Second Pod
I can blame the lack of production a little bit on the new pup in our household, but that would be wrong. It's really more a matter of not really knowing where these are going. The long lag time between making and firing and whether or not the glazing works out or not is being complicated even further by my desire to wire these up post-firing. That will certainly change their look and it's hard to know what it will be then. Unfinished work is so unnerving. Doesn't help that I kinda need a kiln load worth to be bisque fired at a longer and lower temp than my production stoneware.

The concept for the pod above came about on the back of an envelope after envisioning it strung with a spiderweb-like wiring that may or may not get papered.
Moonscape Pod
The moonscape pod was just a shape that turned into a moonscape along the way. Funny when that happens.

The pod below just came about and changed many times as it was being formed. Still a lot of finish shaping to do, but it's getting there. All three of these are a mix of sculpture and paper clay. The two pods on top have been layered with velvet underglazes

Shell-like Pod
Maybe after I get three of these finished I'll waste a little kiln space and fire them up so I can go to the next step.


Tuesday, November 29, 2011

How to be Extreme...?

Big pile of scraps after cutting out a bunch of items. Thought, hey, maybe I should do something for the Ceramic Guild's Extreme Show with these, or in other words, attempt to PLAY with clay instead of just make stuff.

If I lived in Opposite World I would be making cutesy very saleable items with little hearts all over them. So, picked up a lump and started making what I hoped was a stylish heart.

THEN, mid-way I flipped it over and saw this little lovely:

Spent the rest of the day making Scrap-Pile Hearts allowing their humble beginnings to show. It was fun and totally different than my regular fare. Will see where this takes me...

Saturday, March 26, 2011

Sunday, October 31, 2010

Finally, the Spring Order Complete!

Finally got two butter dishes completed -- and it only took me 5 months!

Sometimes special orders have a way of going wrong, very, very wrong... My first dishes were too small as I didn't figure the clay shrinkage correctly and were too small to fit over a cube of butter. The second attempts came out horribly in the glaze firing. Then the festival (my other job) began to loom and time in the studio dribbled to a few pieces a week. Finally got enough pots completed for a kiln load and got these out yesterday.

The smaller one is sleeker and easier to lift off the dish. The other one has a nice hefty feel. I'll have to remember to make the indentions deeper on future models so there is a good solid place to grip the top.

$40-$45.

Thursday, May 27, 2010

Back in the Studio

It's always nice to have orders for motivating back into the studio. Trillium Gallery on the Coast wants plates, bowls and the new leaf boat serving dishes. A customer from a few years ago asked me if I'd try my hand at making a handle-less butter dish that would match a sugar and creamer she has.

Here's what I came up with... Looks a little like Kermit the Frog... good or bad?!?

Tuesday, April 6, 2010

Variations in a Single Firing


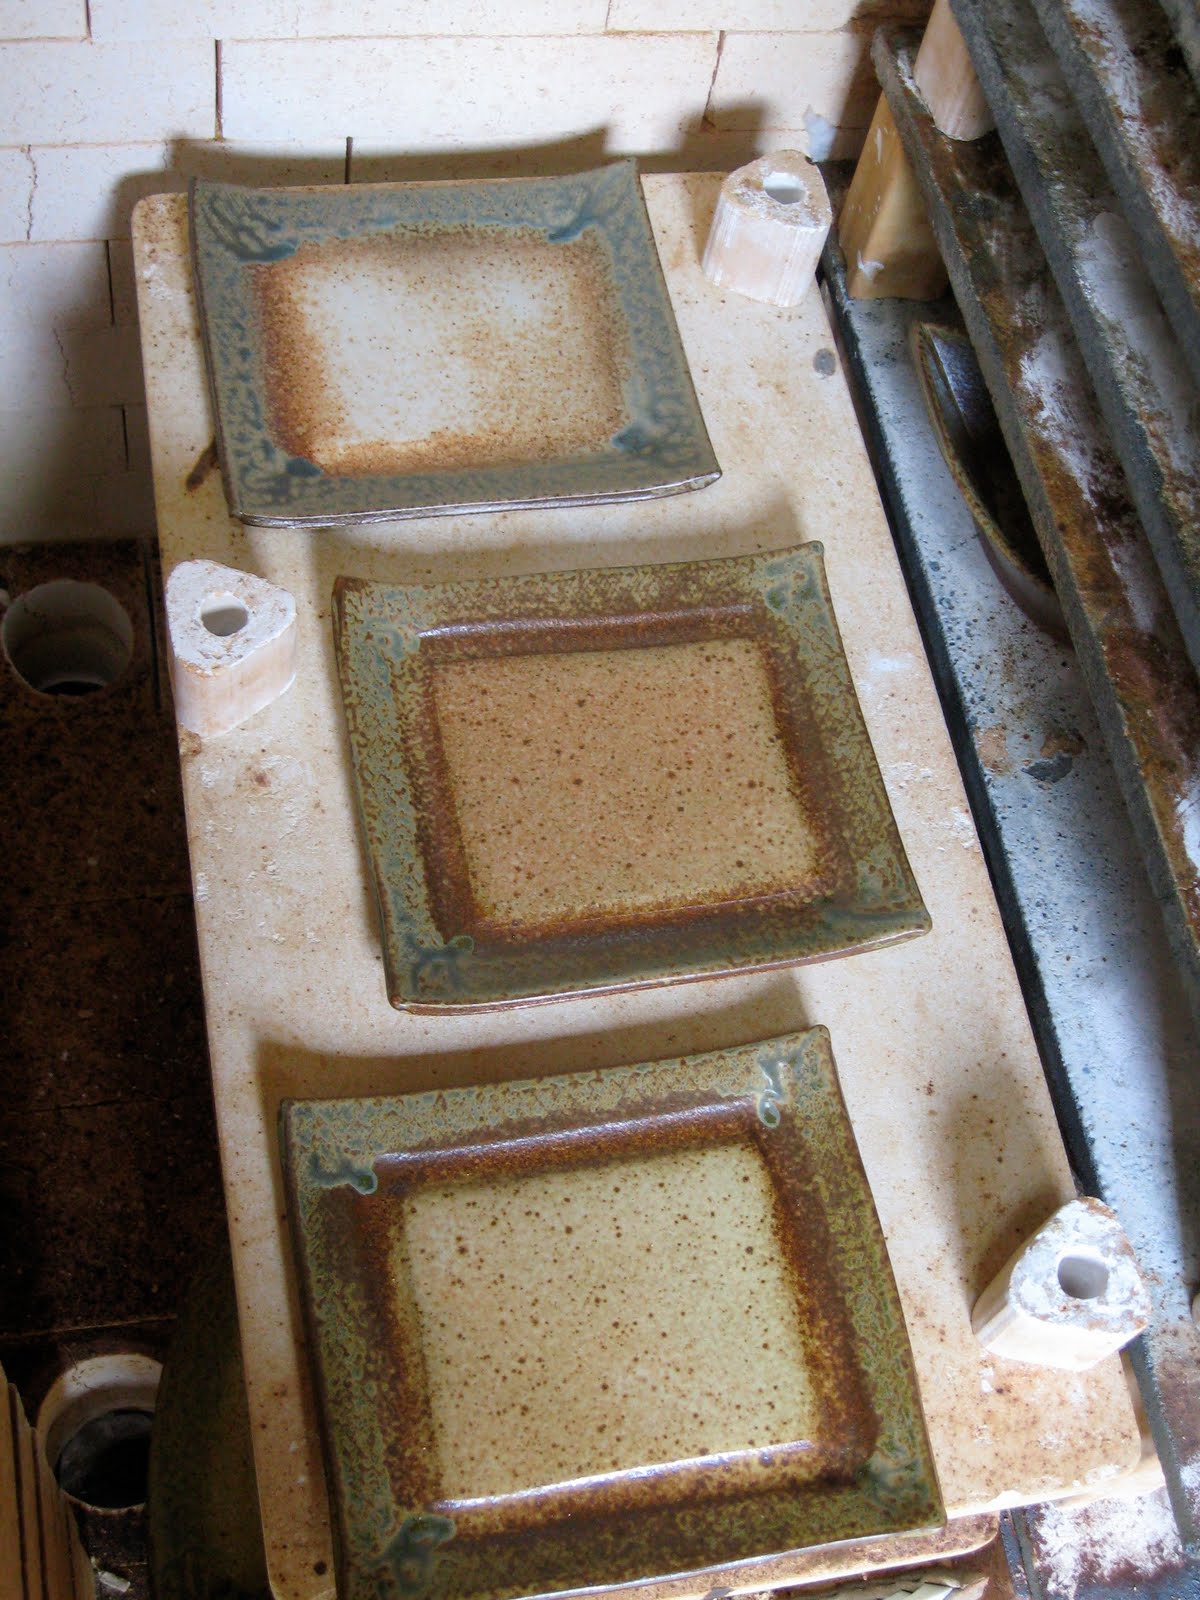
This past month I've been working on a set of dinnerware: eight big plates, small plates, smaller plates and bowls. I'm never done so many pieces that were all supposed to match. Luckily the folks buying this set knew that from top to bottom they would get some differences in the glaze and the way the clay looked. That is sure what they're going to get.

The above images illustrate just how broad these variations can be. The three plates on the shelf go from regular reduced atmosphere in the front to very oxidized in the back. The bowls also show how each one dried and warped a bit differently as well as getting different finishes from the firing. Never a dull moment when it comes to pottery...

Below is a complete dinner set that matches pretty well considering.


Friday, March 26, 2010

New Versions of Old Favorites


Since I was glazing a kiln load of plates and bowls with the new green version of my drippy Alberta Slip glaze, decided to just spray the rest of the lot with the same glaze. This was the result. This watercan, basket and "tulip vase" all have a fresh look, and one that will stand out from the darker blues and browns of my other work when I take it all to Ceramic Showcase next month.

Wednesday, March 17, 2010

Leaf Bowls-Phase Three


The first set of leaf bowls turned out nice. The second set warped as they dried and then rocked after they were glaze fired and were generally a pretty motley bunch. With this third set I've made the dart cuts even deeper and the impressed foot smaller to try and make them more of a bowl than a deep plate. Turned them upside down on a flat surface and paddled the foot in hopes that gives them a good non-wacky start to drying.

Monday, March 8, 2010

What inspires us?

This kiln shelf has all the color, drama and element of surprise that I would cherish on any pot of mine should it turn out looking like this. And it just happened that way in the firing through nothing we did, and we will grind off all of this beautiful decoration for the next firing. The marks are left from wads that keep our pottery from sticking to the shelf and from flame and ash that swirled all around.

Beautiful shelf. Hope the pots I'm making for spring woodfire turn out half as good.